This past weekend I saw over on /r/unixporn that ricing Mac OSX is a ’thing’. I used to have a lot of fun doing this on my old linux systems when I was a kid, like Enlightenment, Afterstep, Windowmaker, XFCE, and anything else I could customize to look like something from a cool ‘hacker movie’ or something like that.
Anyway, this got me inspired to change my desktop into something a little cooler looking than standard OSX and here’s the basic premise of everything I did.
First, you’re going to want to install Brew, which is a package management system that’ll let you install additional software on your mac in a nicely controlled and updatable manner.
/usr/bin/ruby -e "$(curl -fsSL https://raw.githubusercontent.com/Homebrew/install/master/install)"
Now that brew is installed, we can run through the rest of the basic setup to get this going.
What I did first, was change the default shell from Bash over to Zsh, which you can see the differences here if you’re interested
brew install zsh
nano /etc/shells
add
/usr/local/bin/zsh
sudo dscl . -create /Users/<YOURUSERNAME> UserShell /usr/local/bin/zsh
now check to make sure it’s set properly
dscl . -read /Users/$USER UserShell
or
echo $SHELL
copy this in to your .zshrc
HISTFILE=~/.histfile
HISTSIZE=20000
SAVEHIST=1000
setopt notify
bindkey -e
zstyle :compinstall filename '/Users/<YOURUSERNAME>/.zshrc'
autoload -Uz compinit
compinit
autoload -U colors && colors
PS1="%{$fg[cyan]%}%n%{$reset_color%} %{$fg[white]%}%~ %{$reset_color%}%% "
# ALIASES
alias ls='ls -G'
Now, let’s install instantly awesome Zsh
cd ~/Documents/Source/
git clone --recursive https://github.com/sorin-ionescu/prezto.git "${ZDOTDIR:-$HOME}/.zprezto"
setopt EXTENDED_GLOB
for rcfile in "${ZDOTDIR:-$HOME}"/.zprezto/runcoms/^README.md(.N); do
ln -s "$rcfile" "${ZDOTDIR:-$HOME}/.${rcfile:t}"
done
then, lets change the prompt
prompt -l
prompt -p kylewest
prompt kylewest
then make it permanant
nano ~/.zpreztorc
and change
zstyle ':prezto:module:prompt' theme 'sorin'
to
zstyle ':prezto:module:prompt' theme 'kylewest'
also, scroll to the second to last line and uncomment the iterm2 integration in the same file, thenexit and save.Now, you should be able to start up Iterm2 and you’re running Zsh in there instead of bash.
Now, lets install tmux, a wonderful GNU Screen replacement
git clone https://github.com/tony/tmux-config.git ~/.tmux
ln -s ~/.tmux/.tmux.conf ~/.tmux.conf
cd ~/.tmux
git submodule init
git submodule update
cd ~/.tmux/vendor/tmux-mem-cpu-load
cmake .
make
sudo make install
cd ~
git clone https://github.com/powerline/fonts.git fonts
cd ~/fonts
pip install --user powerline-status
cd ..
git clone https://github.com/kovidgoyal/powerline-daemon.git pld
cd ~/pld
gcc -O3 powerline-client.c -o powerline-client
chmod +x powerline-daemon
powerline-daemon
sudo cp powerline-client powerline-daemon /usr/local/bin
sudo apt-get install powerline
then add this to tmux.conf
nano ~/.tmux.conf

if-shell 'test -f ~/.local/lib/python2.7/site-packages/powerline/bindings/tmux/powerline.conf' 'source-file ~/.local/lib/python2.7/site-packages/powerline/bindings/tmux/powerline.conf'
Then change your font in ITerm2 to be a -powerline font and all should look nice.
So, next we’re going to want to install a customized version of Iterm2 to accommodating padding , and borderless which looks much cooler 🙂
So in our terminal we’ll go
cd ~/Documents/
mkdir Source && cd Source
git clone https://github.com/jaredculp/iterm2-borderless-padding.git iterm2-borderless-padding
cd iterm2-borderless-padding
./install.sh 20 20
mv ./iTerm2/build/Development/iTerm2.app /Applications/
Now, re-open Iterm2 and you’ll have a zsh shell with colorized ls output, running in a borderless window with 20 pixels padding on all edges. Don’t forget to change your font to one of the -powerline fonts, and try out tmux too!
Then, we’ll install KWM which is a nice tiling window manager.
brew install koekeishiya/kwm/kwm
mkdir -p ~/.kwm
cp /usr/local/Cellar/kwm/3.0.7/kwmrc ~/.kwm/kwmrc
brew services start koekeishiya/kwm/kwm
now you can reboot, and you should be good to go.
After rebooting, you’ll probably want to modify your KWMrc file to your liking, here’s a good starting point.
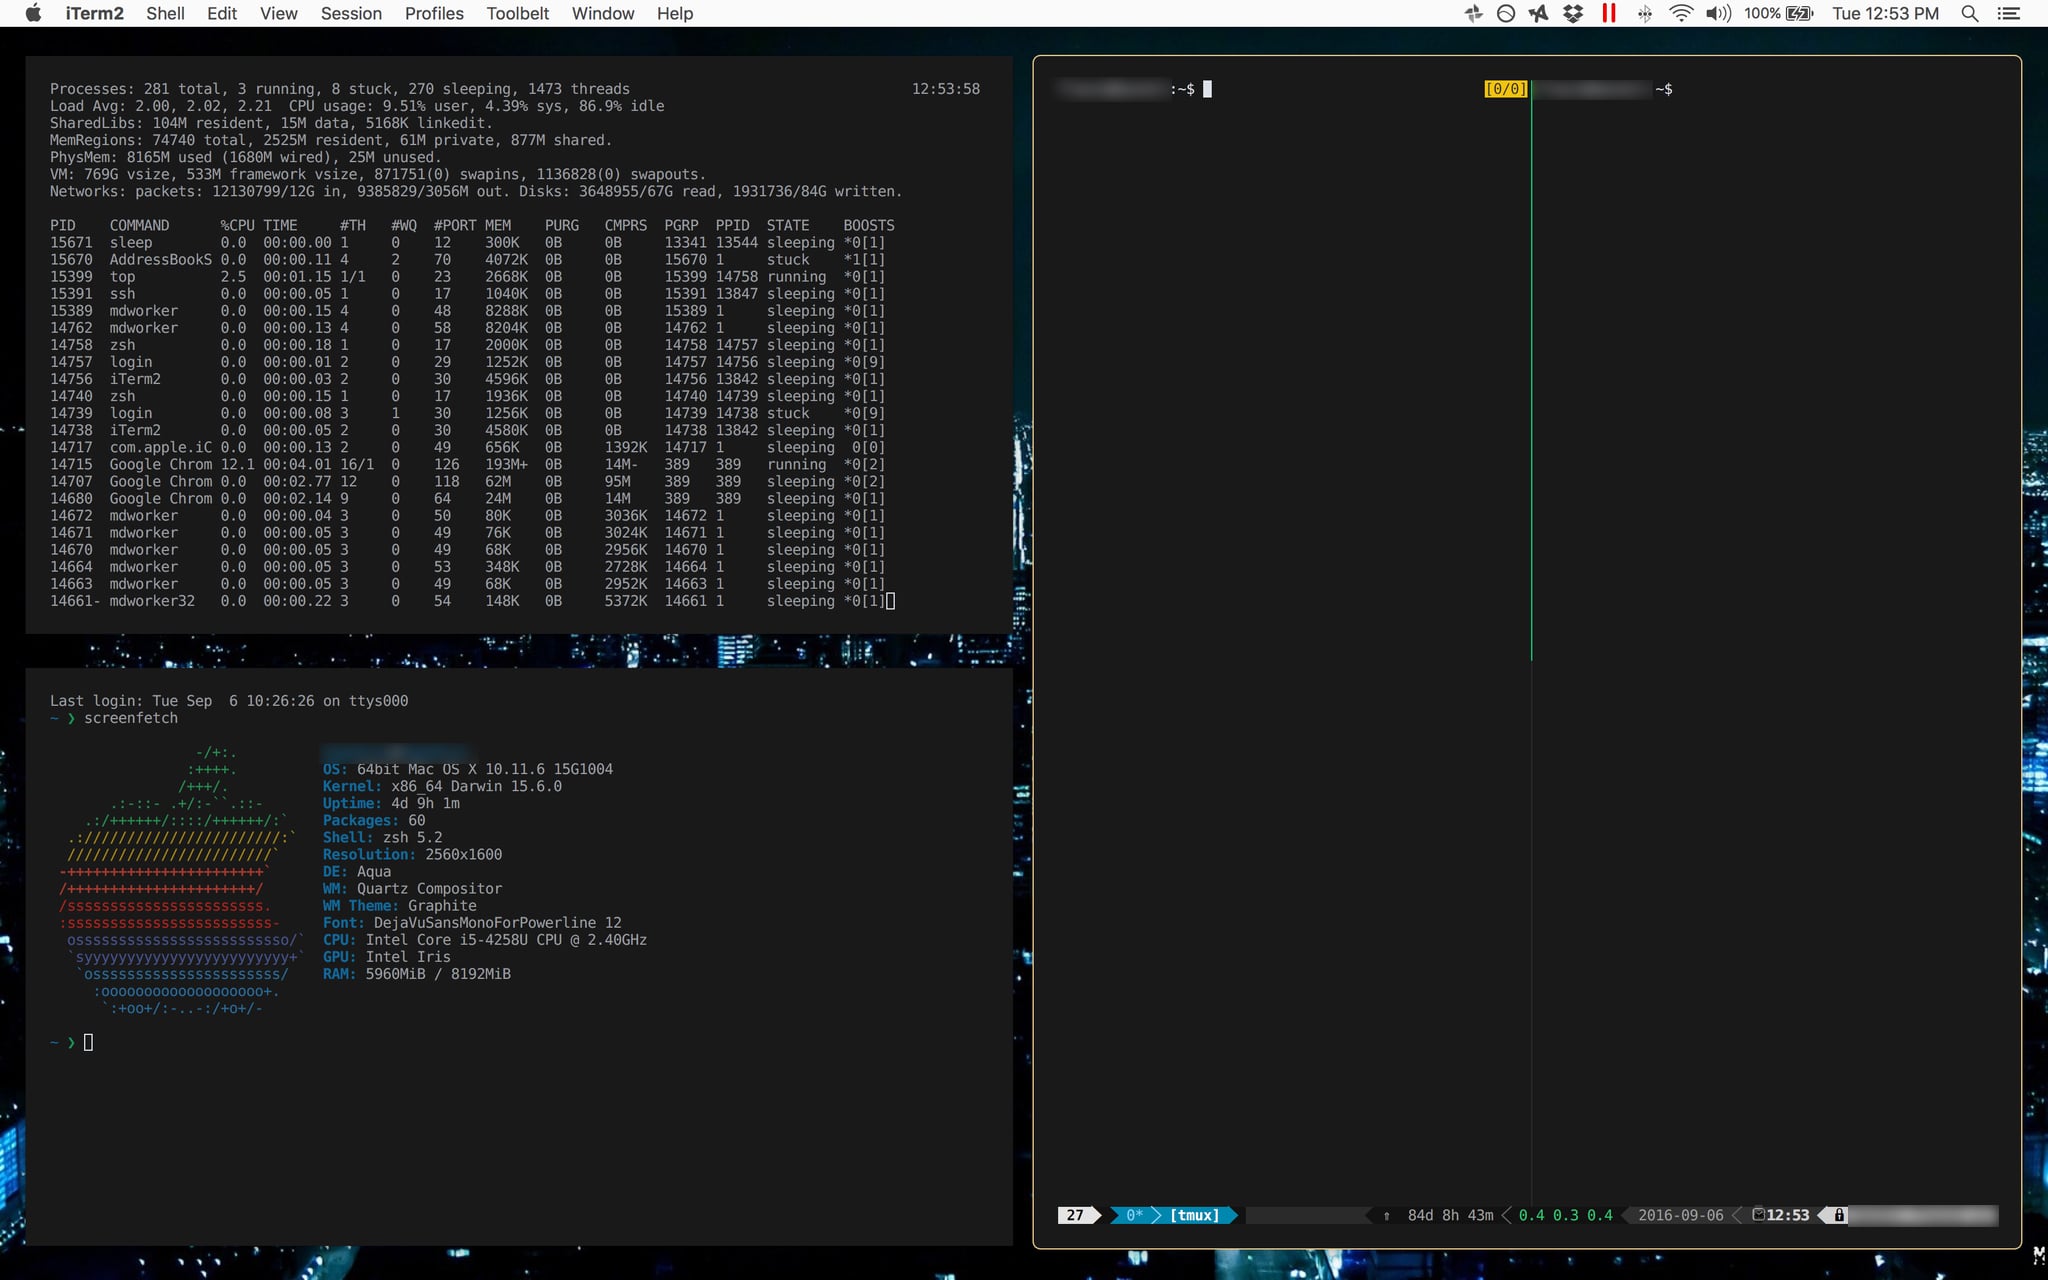
Here’s a screenshot since they’re cool and stuff [some of it is obfuscated fyi];